We're so excited to share this post today because, well, we're more than just a little bit in love with calligraphy.
From the glistening of gold lettering on heavy stock card, to the sweep of pure black ink on crisp white paper, calligraphy is not only beautiful, but it demonstrates patience, style, and refinement too.
This classic art form is enjoying quite the comeback.
Seriously, we can't get enough – Elizabeth has even been teaching herself to scribe on her travels!

And so, with our penchant for hand-scripted stationery in mind, we were over the moon to hear about Ashley Lurcott. An incredibly talented illustrator and calligrapher, Ashley creates the most stunning hand-crafted invitations and paper goods.
But eager to help DIY brides and grooms in their quest for calligraphy, she's also created a very nifty kit called The Lettered Bride, a DIY writing set with everything you need to teach yourself calligraphy at home. Perfect!
As a self-taught calligraphy bride herself, Ashley has also kindly offered up some of her tried and tested tips for budding calligraphers. So before you pick up your quill, read on…
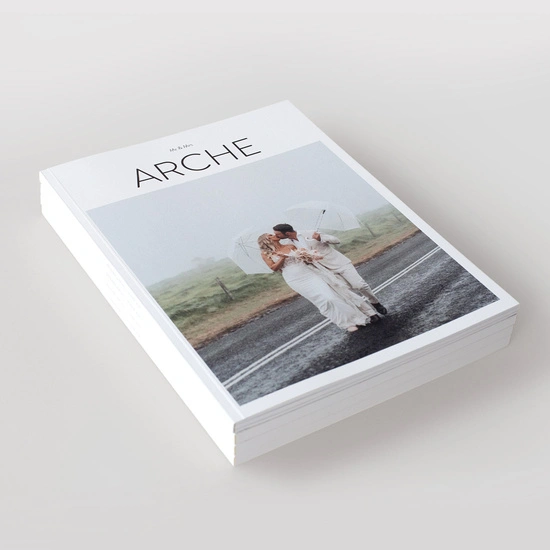
The Lettered Bride
I’ve always loved finding old family letters, exchanging mail with pen pals, and endlessly perusing the pen aisle at Staples. So when I got engaged last year, it seemed natural that I would decide to teach myself calligraphy to address our wedding invitations.
My calligraphy received more positive comments from our guests than any other element of our wedding! The skill itself wasn’t too difficult to learn, but finding the right tools and materials was.
I spent countless hours and dollars testing pens, nibs, and inks that were frustratingly thin or that caught on my paper, and I often wished I could just have everything I needed delivered right to my doorstep.

And so was born my idea for “The Lettered Bride,” a DIY calligraphy kit for budget-savvy brides.
With options to specify your ink color (gold, white, or black), it comes with step-by-step instructions for learning calligraphy for your wedding envelopes.
I think calligraphy is seeing a resurgence in popularity because, in our busy digital age, we’re all craving a more personal and thoughtful touch in our correspondence.
Calligraphy takes time, but that means you put heart and soul into it, and your guests will notice and love that. Plus, it’s a skill that extends beyond your wedding – you can use it for your holiday cards, baby showers, and other special occasions.

Top 10 Tips For DIY Wedding Calligraphy
If you have decent handwriting, are crafty, and are determined to impress your guests with a personal touch, read on for my top 10 tips for DIY-ing your wedding calligraphy!
1. Give yourself plenty of time to learn. Remember that invitations need to be sent out 6-8 weeks (or more) before your wedding.
I picked up my first pen in April and sent our invitations in July – but I also wasted a lot of time with the wrong materials, which hindered my practice. If you're starting out with quality tools and materials, you’ll need a month or two to get the hang of it.

2. Don’t even attempt calligraphy if you have (self-proclaimed) “horrible handwriting!” Trust me, it just won’t be pretty. I’m sure you have many other lovely talents.
3. Have patience with yourself; calligraphy takes many hours of practice and lots of concentration. It can be a very meditative task, though, so plan your practice time in the early weekend mornings or as a way to “wind down” after a long day at work.

4. Don’t buy a calligraphy kit at your local art supply or book store – the inks are too thin and the nibs are usually meant for Italic and more gothic calligraphy styles.
Only “pointed” nibs give that flowy, modern look that’s so popular right now (and they also work for left-handers.)
5. Research the inks and tools that professional calligraphers use, or save time by purchasing a kit such as The Lettered Bride.

6. Learn how to properly clean your pen so that it lasts and continues to write evenly. A clogged “nib,” or pen tip, is a very frustrating thing.
7. Give your ink plenty of time to dry! There’s nothing worse than crafting a beautiful envelope, only to check it and create a smudge.
8. Wear dark clothing that you don’t care about while you write. Accidents do happen, especially if cats are nearby!

9. Order extra envelopes! Most professional calligraphers actually require brides to send them 15%-20% extra materials.

We're inspired.
With a bit of effort, it looks so achievable, even for lefties like me!
Thanks so much Ashley for sharing your own experiences, and your great tips, as well as the gorgeous images of your work. If you'd like to try your hand at calligraphy for your wedding, you can purchase The Lettered Bride DIY Calligraphy Kit here.
Click for some more DIY Tips & Tricks + Real DIY Wedding Inspiration